How to Remove a Tick Safely: Step-by-Step Guide
Finding a tick attached to your skin can be alarming, but removing it promptly and correctly is important. Avoid squeezing or pulling it with your fingers, because improper removal can irritate the skin and may leave parts of the tick behind.
Step 1: Remove the Tick Carefully
Avoid grabbing a tick with your fingers and pulling it off quickly. Squeezing, twisting, or using too much force can cause the tick to break apart or leave mouthparts embedded in the skin.
The safest method is to use fine-tipped tweezers. Position the tips as close to the skin as possible, right where the tick is attached. Pull straight upward slowly and steadily, using gentle, even pressure. Do not twist, crush, or jerk the tick.
After removal, inspect the bite area. If a small piece appears to remain in the skin, don’t aggressively dig into the area. If you cannot easily remove it with clean tweezers, leave it alone and seek medical advice if necessary.
Once the tick is removed, wash the bite area and your hands thoroughly with soap and water. An alcohol-based sanitizer can also be used when appropriate.
Step 2: Dispose of the Tick Safely
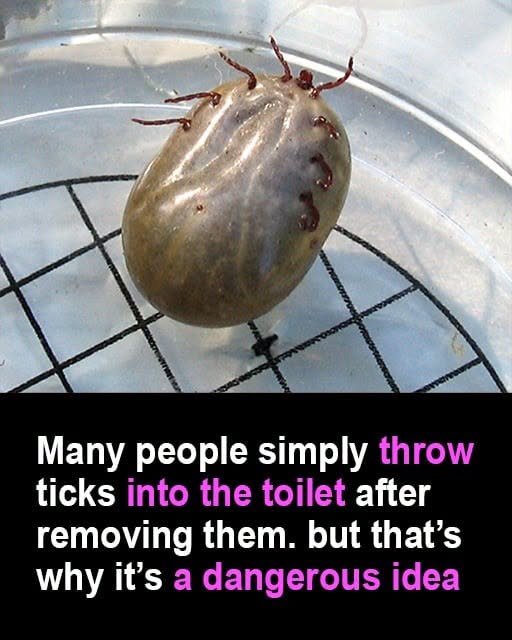
Do not crush the tick with your bare fingers. Place it in a sealed container or zip-top bag, or secure it between pieces of tape before throwing it away. If you want the tick identified, keep it in a sealed container and ask a healthcare professional about appropriate testing or identification.
Step 3: Clean and Check the Bite
Wash the bite area again with soap and water and keep it clean. A small amount of redness or irritation immediately after a bite can occur and does not necessarily mean an infection.
Step 4: Watch for Symptoms
Monitor yourself for several days or weeks after the bite. Contact a healthcare professional if you develop symptoms such as fever, chills, headache, unusual fatigue, muscle or joint aches, swollen lymph nodes, or an expanding rash.
The timing and symptoms of tick-borne illnesses can vary, so don’t ignore symptoms simply because the tick was removed quickly.
Step 5: Remember When and Where the Bite Happened
If possible, make a note of the date, location, and approximate length of time the tick may have been attached. You can also take a photo of the bite area so you can compare it later if the appearance changes.
The most important thing is not to panic. Remove the tick promptly and carefully, clean the area, dispose of the tick safely, and monitor yourself afterward. If you are unsure whether the tick was completely removed or you develop concerning symptoms, seek medical advice.